How to Knit a Poncho | Phinium Poncho Knitting Pattern
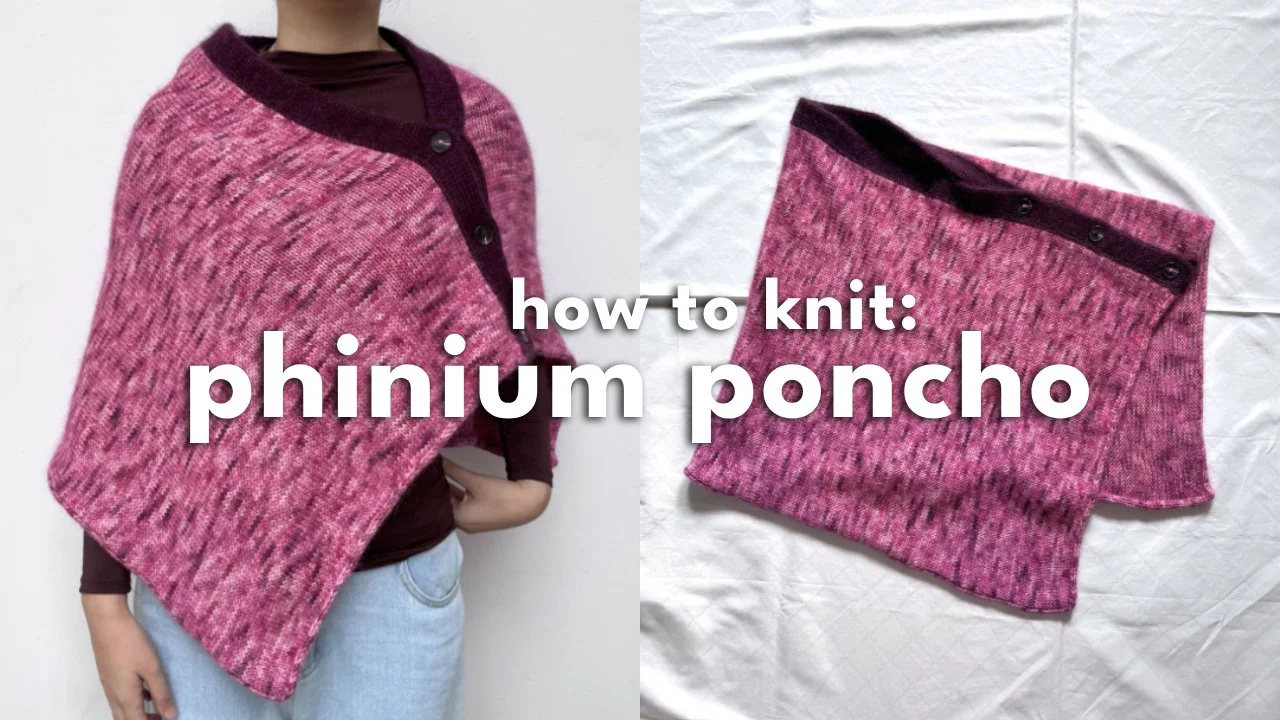
What if you only needed one knitted piece to keep you cosy all throughout the cold seasons? Presenting the Phinium Poncho, an extra layer of warmth that’s designed for many uses. Thanks to its large-gauge design and relaxed fit, it feels light and airy, like wrapping yourself in a cloud.
There are so many ways to wear it that you can rewear it from autumn to winter without it ever feeling boring.
The Phinium Poncho is knitted flat in stockinette stitch. Once the body is complete, an I-cord edge is added then finished with a double-knit button band.
Pattern difficulty: 2/4
Scroll down for a free pattern of the Phinium Poncho or you can check out my YouTube channel with a video tutorial on how to knit one. An ad-free pattern is also available on Ravelry.
Size Guide
Sizes: XS, S, M (L, XL, 2XL) 3XL, 4XL, 5XL
The Phinium Poncho is meant to be worn with 30-35cm/ 11.75-13.75” of positive ease.
Chest circumference to fit: 71-76, 81-86, 91.5, 96.5 (101.5-106.5, 111.5-117, 122-127) 132-137, 142-147, 152-158cm/ 28-30, 32-34, 36-38 (40-42, 44-46, 48-50) 52-54, 56-58, 60-62”
Chest circumference of the garment: 106, 116, 126.5 (136.5, 147, 157) 167, 177, 188cm/ 41.75, 45.75, 49.75 (53.75, 57.75, 61.75) 65.75, 69.75, 74”
Length of the garment: 45.5, 46.5, 47 (47.5, 48, 49) 49.5, 50, 50.5cm/ 18, 18.5, 18.5 (18.5, 19, 19.5) 19.5, 19.5, 20”
Circumference of neck hole of the garment: 64, 68, 73 (78, 83, 88) 93, 98, 102cm/ 25, 27, 28.5 (30.5, 32.5, 34.5) 36.5, 38.5, 40”
Materials
Yarn
Combination 1 (Yarn used in the sample)
Body
1 strand of Hungry for Yarn medium-weight yarn (80% superwash merino, 20% nylon) in the colour OOAK = 200m/ 218yd per 100g/ 3.5oz held together with
1 strand of Sandnes Garn Tynn Silk mohair (57% mohair, 28% silk, 15% wool) in the colour 4628 = 212m/ 232yd per 25g/ 0.8oz
Button band
2 strands of MyYarnStoryCo Merino Nylon yarn (75% merino, 25% nylon) in the colour Vin Rouge = 400m/ 437yd per 100g/ 3.5oz held together with
1 strand of Sandnes Garn Tynn Silk mohair (57% mohair, 28% silk, 15% wool) in the colour 4672 = 212m/ 232yd per 25g/ 0.8oz
For the body, you will need 555, 620, 685 (750, 815, 890) 960, 1025, 1105m/ 605, 680, 750 (820, 890, 975) 1050, 1120, 1210yd of medium-weight yarn and 555, 620, 685 (750, 815, 890) 955, 1025, 1100m/ 605, 680, 750 (820, 890, 975) 1045, 1120, 1205yd of mohair.
For the button band, you will need 180, 195, 215 (230, 250, 265) 285, 300, 320m/ 195, 215, 235 (250, 275, 290) 310, 330, 350yd of fingering-weight yarn and 90, 100, 105 (115, 125, 135) 140, 150, 160m/ 100, 110, 115 (125, 135, 150) 155, 165, 175yd of mohair.
Combination 2
Alternatively, you can use 1 strand of medium-weight yarn = 200m/ 218yd per 100g/ 3.5oz held together with 1 strand of lace-weight yarn = 212m/ 232yd per 25g/ 0.8oz. Omit the lace-weight yarn if preferred.
For both the body and the button band, you will need 645, 720, 795 (865, 940, 1025) 1105, 1175, 1265m/ 705, 790, 870 (945, 1030, 1120) 1210, 1285, 1385yd of medium-weight yarn and 645, 720, 790 (865, 940, 1025) 1095, 1175, 1260m/ 705, 790, 865 (945, 1030, 1120) 1200, 1285, 1380yd of lace-weight yarn.
Needles
A pair of 5mm (US 8) circular needles with a 80cm/ 31.5” cord for the body
A pair of 4.5mm (US 7) circular needles with a 120cm/ 47.25” cord for the button band
Optional: A pair of 4mm (US 6) needles for casting on for the button band
Other materials
Three 24L/ 15mm/ 5/8” buttons
Seven removable stitch markers
Tapestry needle
Gauge
Stockinette stitch
20 stitches x 24 rows to measure 10cm × 10cm/ 4” × 4” after wet blocking, knitted flat using 5mm (US 8) needles.
Double knit stockinette stitch
48 stitches × 20 rows to measure 10cm × 10cm/ 4” × 4” after wet blocking, knitted flat using 4.5mm (US 7) needles.
If there are too many stitches in your gauge, size your needle up. If there are too few stitches in your gauge, size your needle down.
Techniques used
Working stockinette stitch flat
Applied I-cord edge
Double knitting
Abbreviations
K: Knit (e.g. “K1” = knit 1 stitch)
k2tog: Knit 2 stitches together
k2togtbl: Knit 2 stitches together through the back loop
LHS: Left-hand side
P: Purl (e.g. “P2” = purl 2 stitches)
PM: Place marker
Rem: Remaining
Rep: Repeat
RHS: Right-hand side
RM: Remove marker
RS: Right side (the side that will be shown on the outside)
sl1wyif: Slip 1 stitch with yarn in front
SM: Slip marker
WS: Wrong side (the side that will be on the inside of the garment)
YO: Yarn over (e.g. “YO3” = yarn over 3 times)
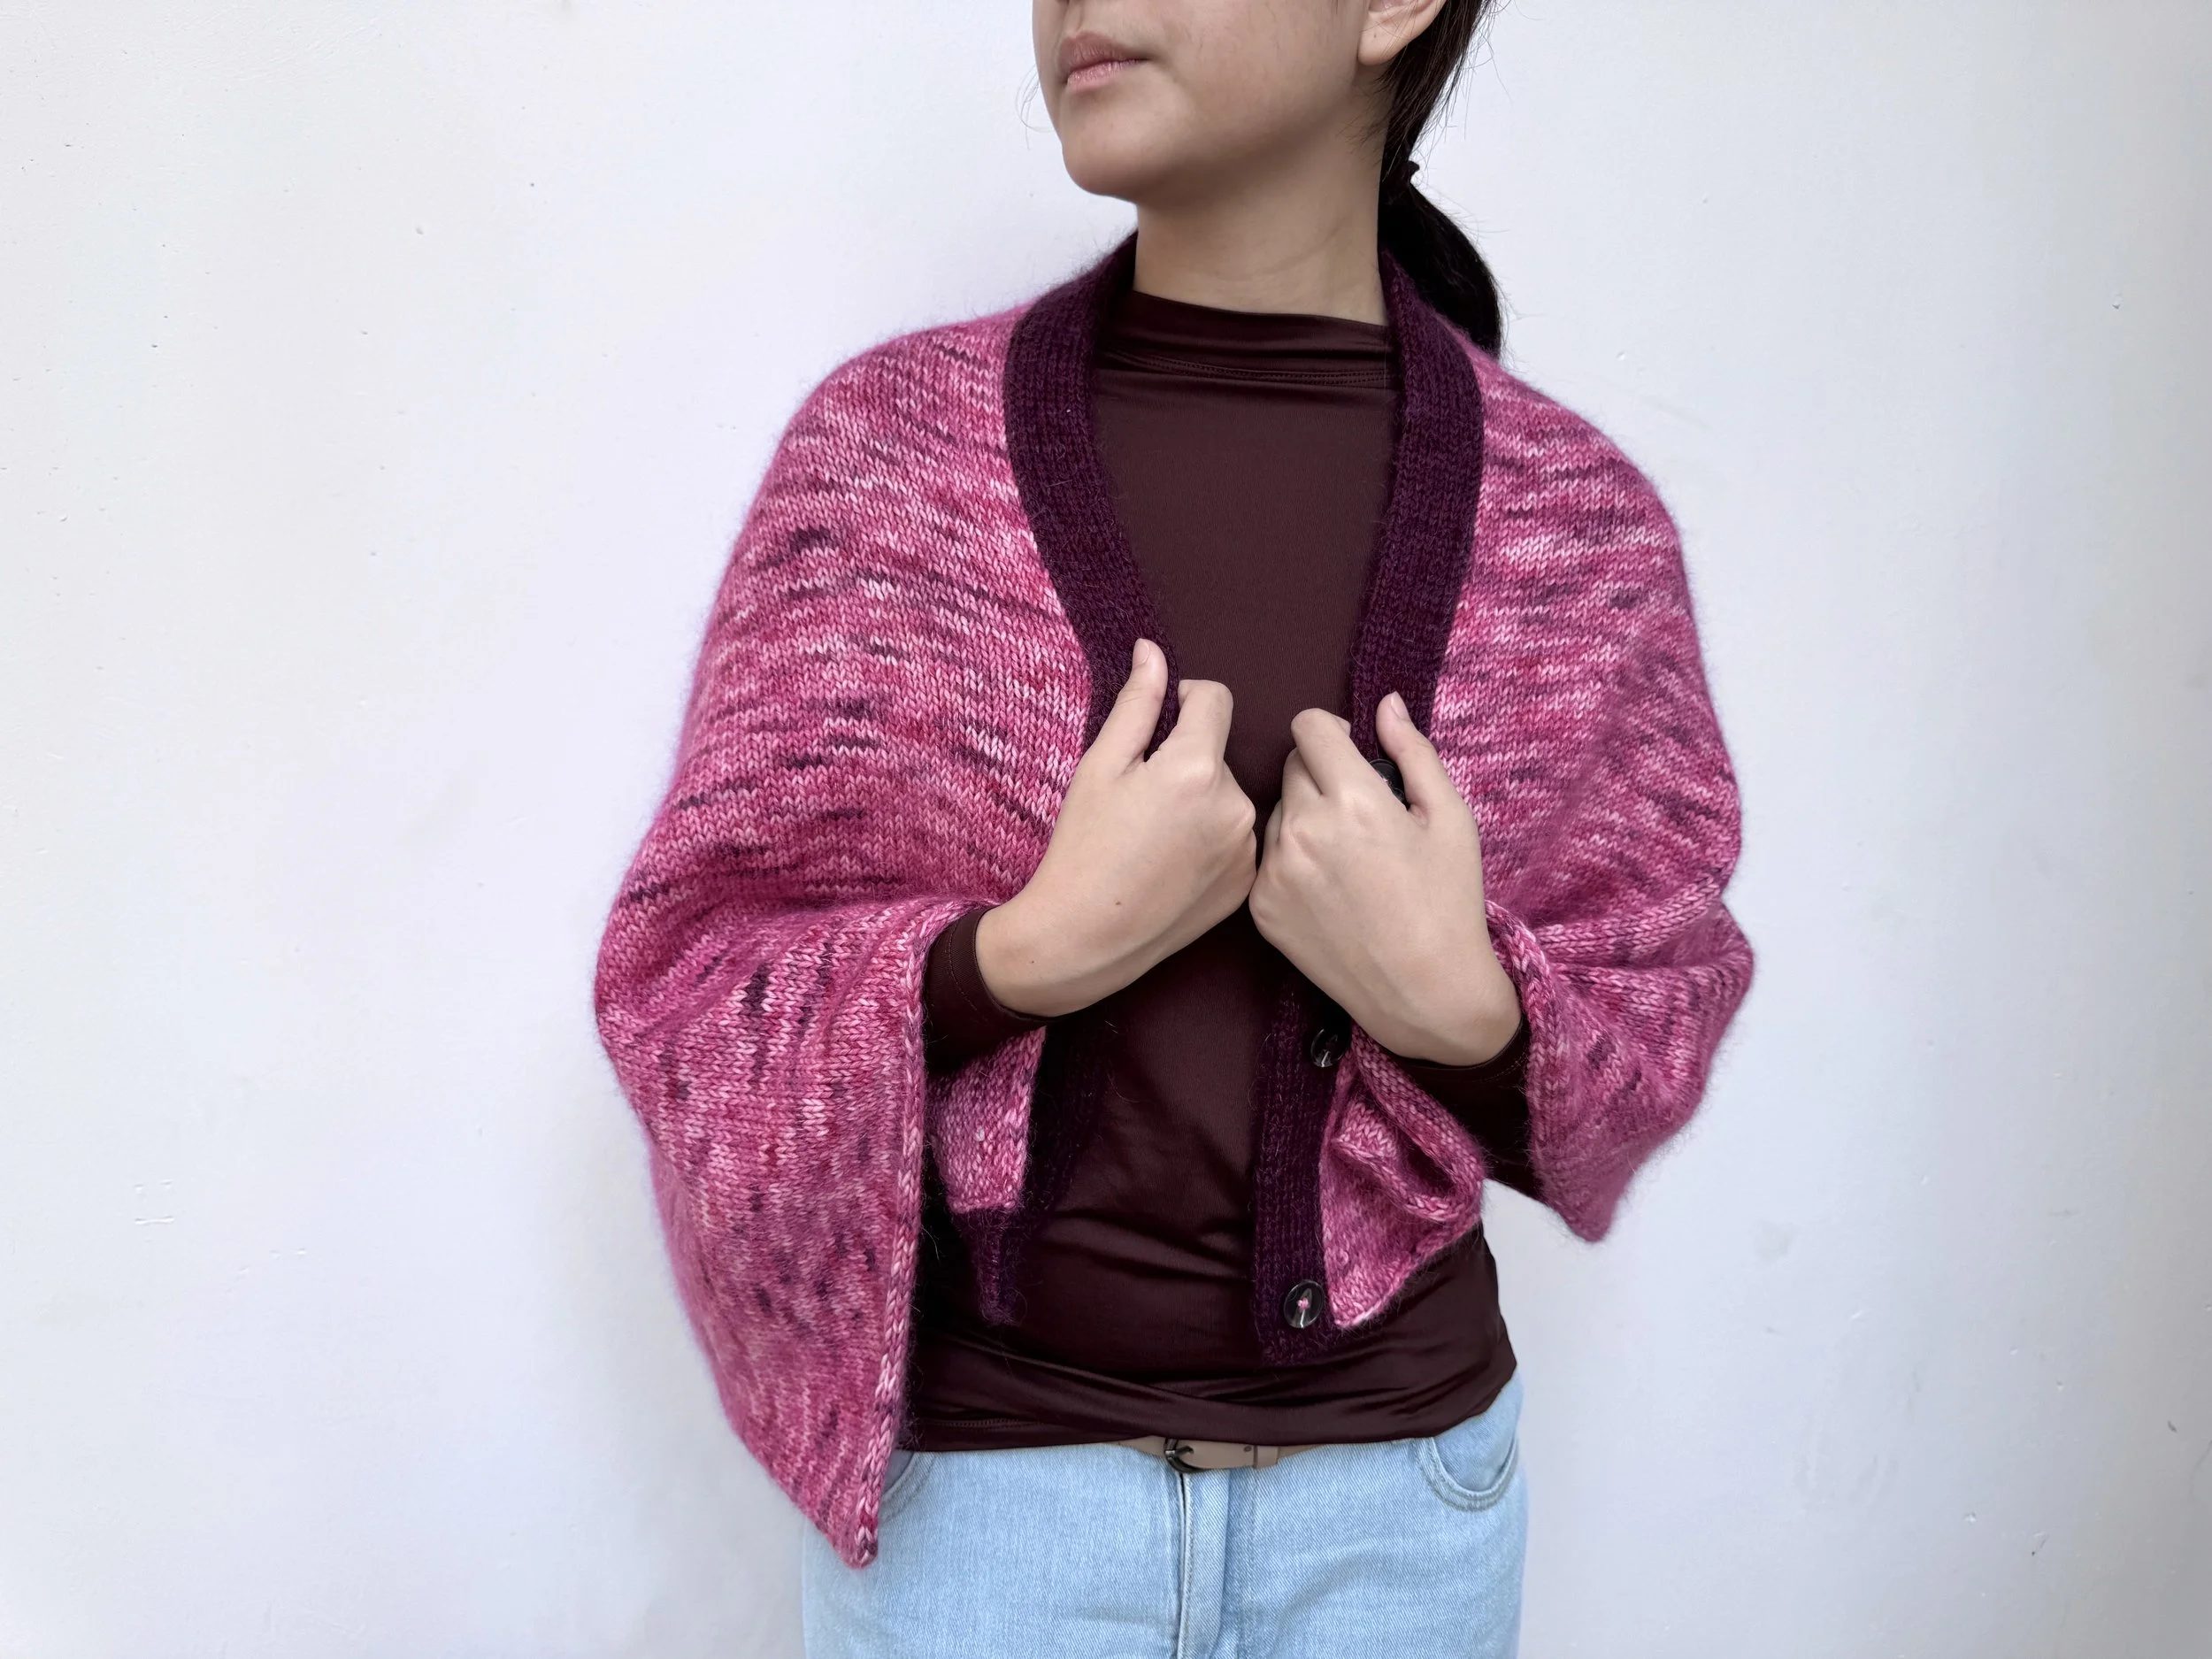
Phinium Poncho
Pattern is written for sizes as such: XS, S, M (L, XL, 2XL) 3XL, 4XL, 5XL.
If there is only one number written, it applies to all sizes.
Body
On 5mm (US 8) needles, cast on 91, 93, 94 (95, 96, 98) 99, 100, 101 stitches using the long-tail cast-on method. Turn work.
Row 1 (WS): P to end.
Row 2 (RS): K to end.
Rep Rows 1 and 2 another 126, 138, 151 (163, 175, 187) 199, 211, 225 times or until your body panel measures 106, 116, 126.5 (136.5, 147, 157) 167, 177, 188cm/ 41.75, 45.75, 49.75 (53.75, 57.75, 61.75) 65.75, 69.75, 74”. End on the WS.
Bind off.
I-cord edge
On 5mm (US 8) needles, cast on 3 stitches using the long-tail cast-on method.
Starting from the edge of the shorter side of the body panel,
Step 1: Pick up 1 stitch.
Step 2: Move the stitches from the RHS to the LHS.
Step 3: K2, k2togtbl.
For the short side of the body panel, you will pick up 3 stitches for the I-cord for every 4 stitches on the body panel. However, when you reach the edge, rep Steps 1 to 3 of the I-cord twice in the corner stitch. This ensures the I-cord turns smoothly. For the long side of the body panel, you will pick up 1 stitch for the I-cord for every 1 row on the body panel.
Work the I-cord edge along the short side of the body panel, the long side of the body panel and finally, the short side of the body panel.
Bind off.
Button band
On 4.5mm (US 7) needles, pick up every stitch along the long side of the body panel without the I-cord edge. When all stitches have been picked up, cut yarn.
Decide whether you want the buttonholes to be on the left or right side of your poncho. Typically, they are placed on the left for menswear and on the right for womenswear.
Place your poncho on a flat surface with the RS facing up. The long side with the I-cord should be on the top, while the edge with stitches picked up is closest to you.
If you want your buttonholes to be on the left side, measure from the right edge of your poncho. If you want the buttonholes to be on the right side, measure from the left edge of your poncho. PM 21, 24, 27 (29.5, 32, 34.5) 37, 39.5, 43cm/ 8.25, 9.5, 10.75 (11.5, 12.5, 13.5) 14.5, 15.5, 17” from the desired side of your poncho. This will be called the neckhole marker.
With the rem stitch markers, mark out where you want to place the buttonholes. It is recommended to place the first buttonhole about 2.5cm/ 1” from the edge of your poncho and the last buttonhole about 2.5cm/ 1” from the neckhole marker. Space the buttonholes at least 2cm/ 0.75” apart. Each buttonhole is two stitches wide.
On 4mm (US 6) needles, cast on 16 stitches using the tubular cast-on method. Alternatively, you can cast on 16 stitches on the same 4.5mm (US 7) needle you used to pick up stitches for the button band. If so, work the tubular cast-on with the WS facing up.
Row 1 (RS): *sl1wyif, K1. Rep from * until there is 1 stitch rem. k2togtbl the last stitch of the button band and the first stitch of the poncho. Turn work.
Row 2 (WS): *sl1wyif, K1. Rep from * to end.
Rep Rows 1 and 2 until you reach the first marker for the buttonhole.
How to work the buttonhole:
Step 1 (RS): (sl1wyif, K1) × 4 times. Turn work.
Step 2 (WS): *sl1wyif, K1. Rep from * to end.
Step 3 (RS): (sl1wyif, K1) × 4 times. YO2. *sl1wyif, K1. Rep from * until there is 1 stitch rem. k2togtbl the last stitch of the button band and the first stitch of the poncho. Turn work.
Step 4 (WS): *sl1wyif, K1. Rep from * until there is 1 stitch from the first YO, k2tog. Turn work.
Step 5 (RS): *sl1wyif, K1. Rep from * until there is 1 stitch rem. k2togtbl the last stitch of the button band and the first stitch of the poncho. Turn work.
Step 6 (WS): *sl1wyif, K1. Rep from * until there is 1 stitch from the second YO. k2tog. ^sl1wyif, K1. Rep from ^ to end.
One buttonhole created.
Continue working the button band rows (Rows 1 and 2 above), incorporating the buttonhole when you reach the buttonhole markers.
Bind off using the tubular bind-off method. Cut yarn.
Weave in any loose ends and block your garment to finish.
Your Phinium Poncho is complete!
If you share your finished works online, please tag me @daylightsbynurin. I’d love to see what you make.
This pattern is for personal, non-commercial use only. Please do not claim this pattern as your own, share it with others or sell digital or printed copies of this pattern. Please do not sell finished items made using this pattern.